Table of Contents
The Isobloc service
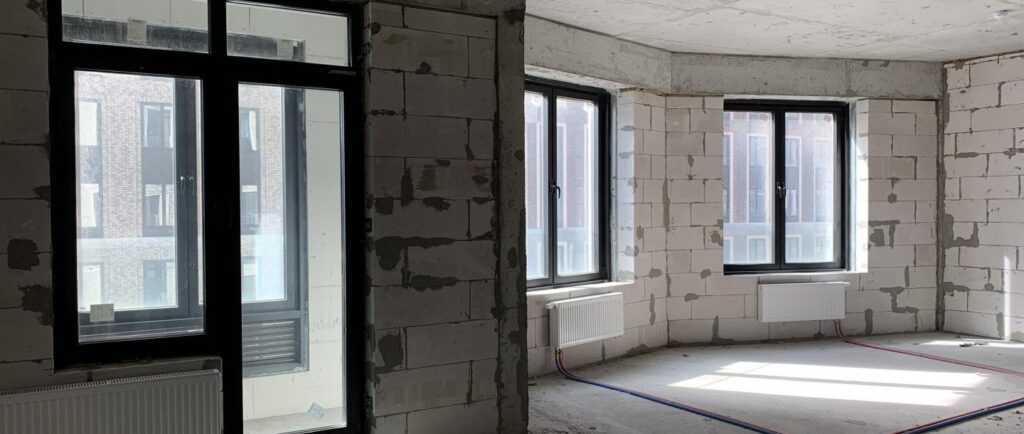
The Fixolite and Isobloc team will provide you with ongoing support for the construction of your building.
A detailed plan
Once the order has been confirmed, our architect will calculate your requirements in terms of different blocks. A detailed assembly plan (and AUTOCAD files) is then provided.
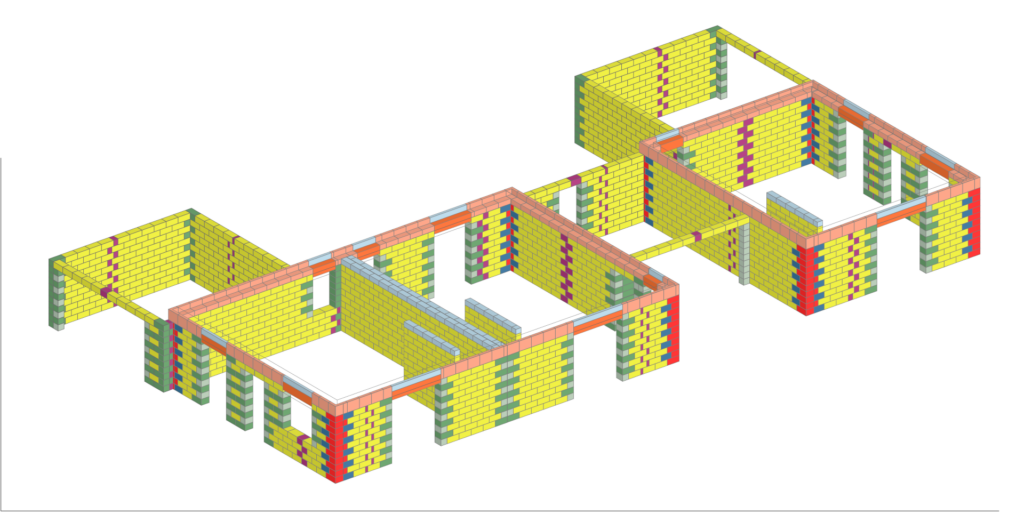
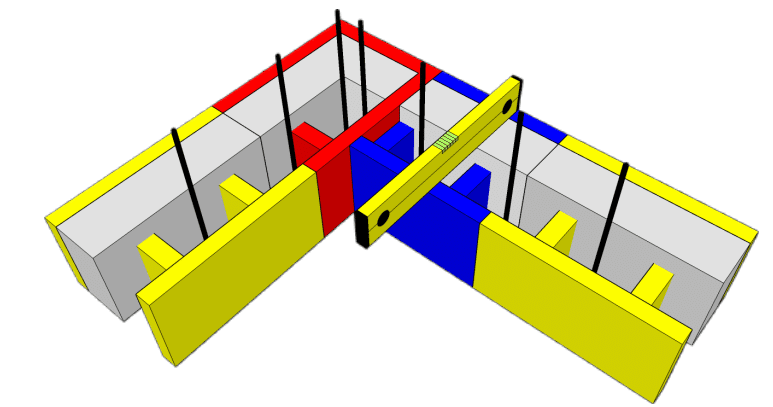
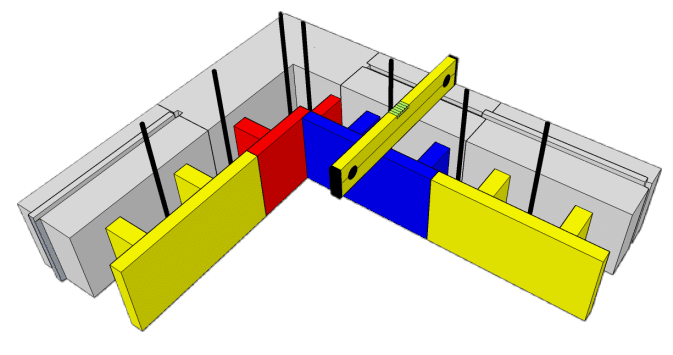
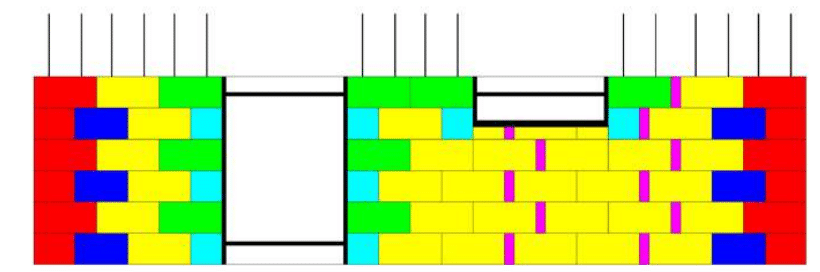
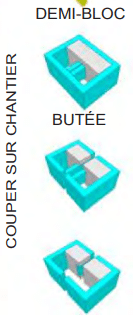
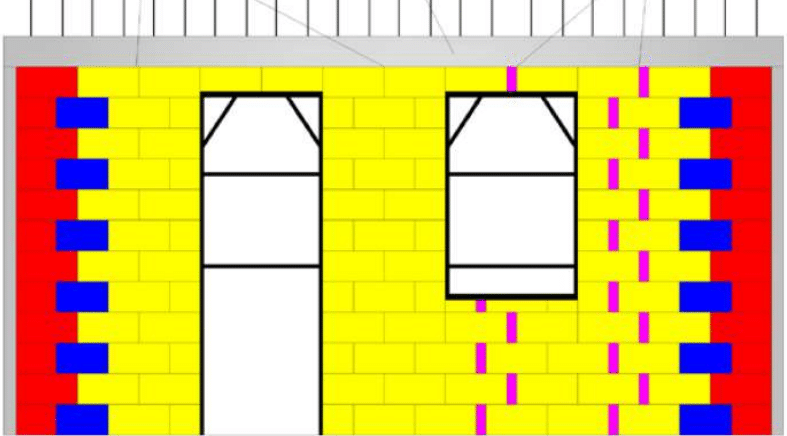
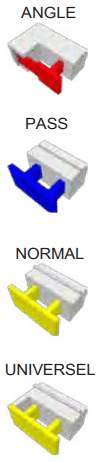
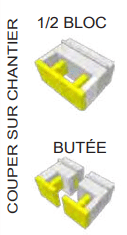
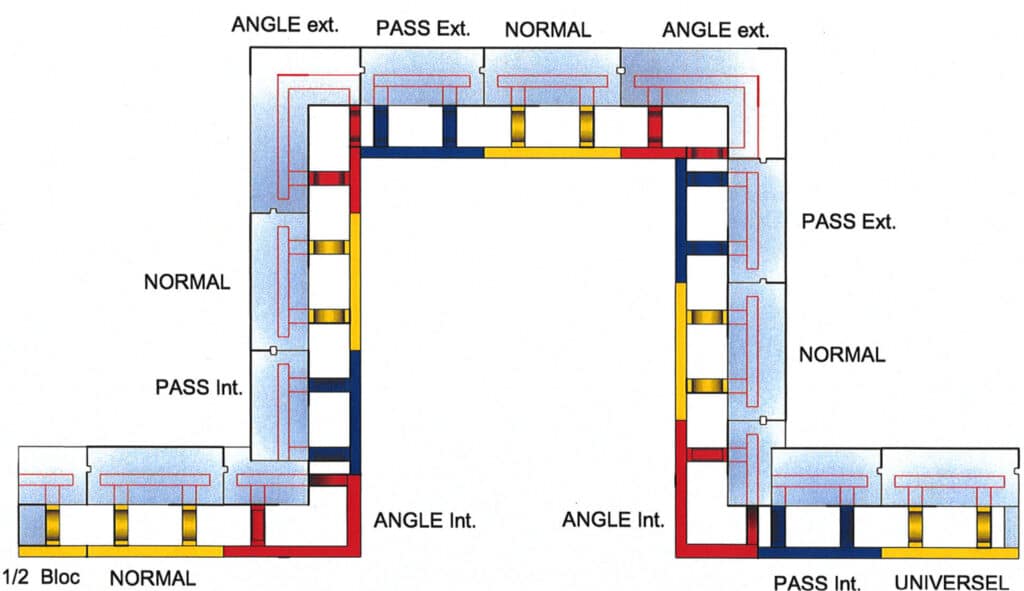
This colour plan identifies the different models: normal, angle, pass, half, cut-out, edge, etc.
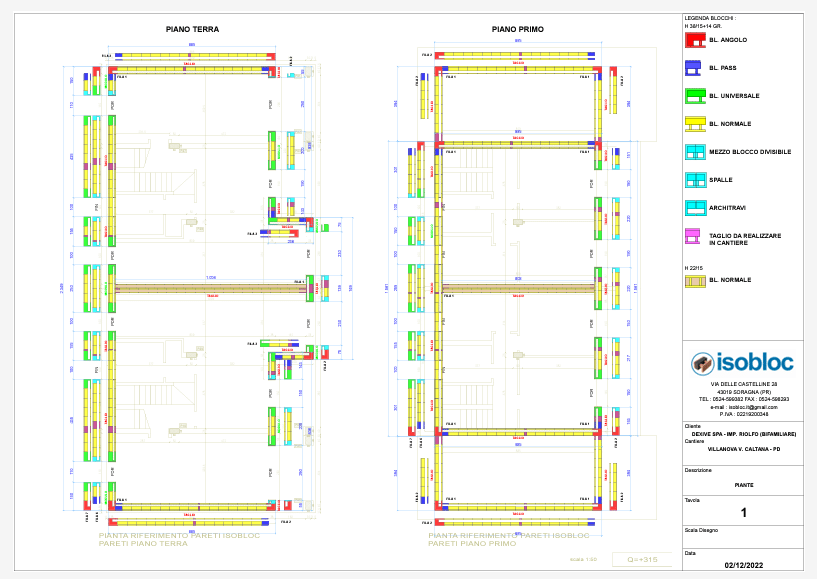
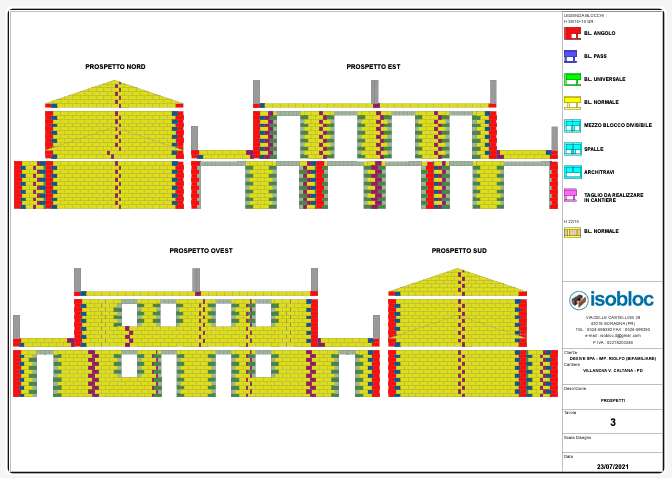
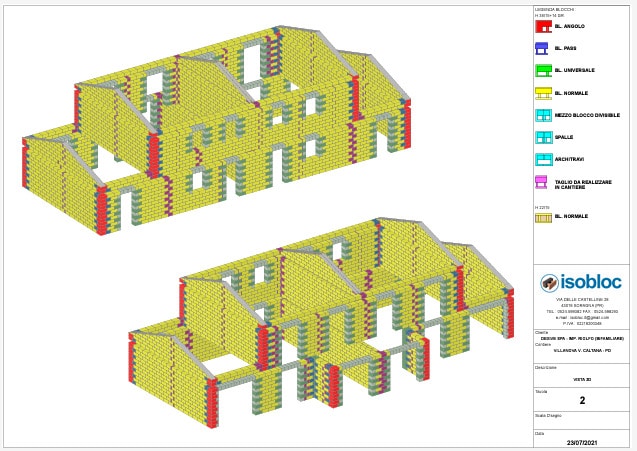
Corner blocks, pass blocks, etc. do not affect the price per m² of the blocks. However, if they are cut to size (for an extension or edge block), a price supplement of around 40% will be applied.
Under certain conditions, we take back unused pallets after the job has been completed.
Isobloc is in BIM
The 3D BIM blocks are available to professionals for use during the design stage.
BIM or Building Information Modeling is a 3D digital construction process in which information relating to each element of the project is managed and shared by the entire construction team throughout the building's lifecycle.
BIM provides the professionals involved with precise information about the physical and functional components of a model. This enables smarter, faster and more sustainable planning, design and construction.
On BIMobject®, you can find ISOBLOC blocks in all common design formats such as AutoCAD, ArchiCAD, Sketchup, etc.
Explanations for correct installation
The first row of blocks is laid on a layer of mortar levelled on both sides.
horizontal and transverse.
The following layers are laid dry, staggered by half a block (or block
pass), inserting a single or double horizontal reinforcement according to the project specifications.
Once the height of 150 cm has been reached (6 rows), backfill with concrete to within 10 cm of the edge of the last row.
Immediately afterwards, the vertical irons are inserted by at least 60-70 cm for the following rows.
By repeating the same dry-laying operation, the desired height is reached using a series of special pieces cut to size, such as an extension or a fascia board.
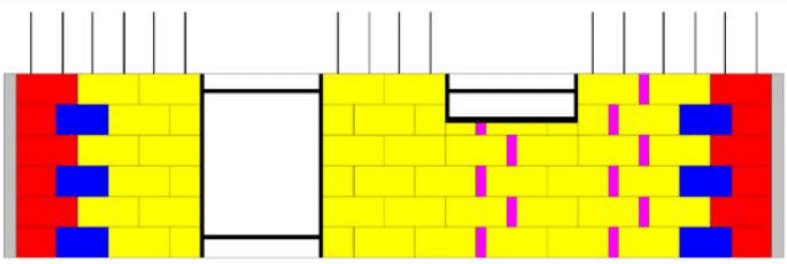
- Block H -
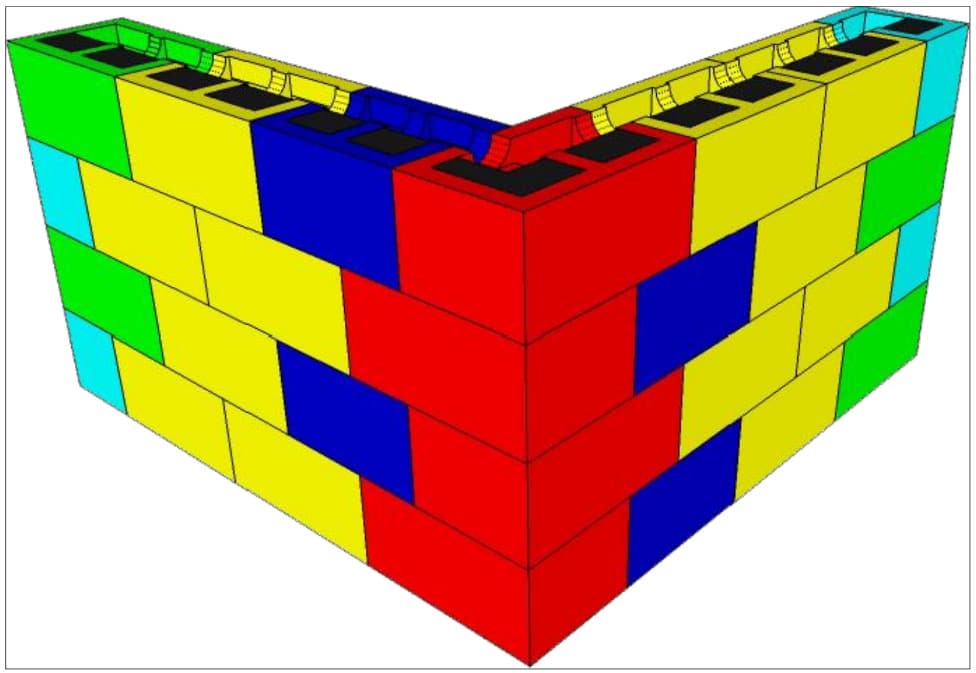
Assembling the wall with the various blocks
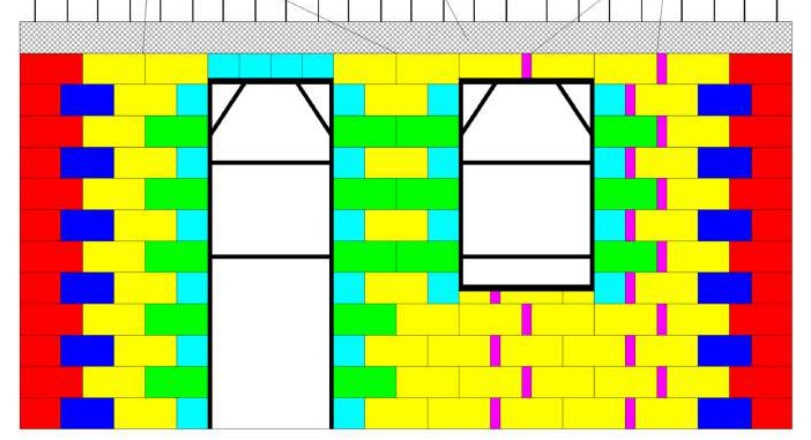
- HI blocks -
Assembling the wall with the various blocks
Applying plaster to interior walls
Any type of mixture based on gypsum, hydrated lime, perlite and specific additives can be used.
Allow to dry completely (15/20 days) before applying the finishing coat of fine mortar or plaster and lime coating.
BLOCS H: application for exterior walls
Any type of lime and cement-based mix can be applied once the walls are completely dry.
It is not advisable to apply the rendering at temperatures below 4°C. The thickness must not be less than 2 cm and should be applied in two passes, each 1 cm thick.
Leave to dry for at least 30 days at temperatures above 10°C.
Once fully cured, the following finishes can be obtained:
- Apply a water-repellent exterior mortar and stucco a fibre mesh and finish with a colour tint.
- Apply the coloured plaster using a smooth trowel and finish with a trowel.
BLOCS HI: application for exterior walls
- For the exterior finish, use a first coat of insulating plaster.
- Staple a fibreglass mesh, overlapping it by at least 10 cm.
- Then cover with a second coat of surface dressing.
- Once completely hardened, apply a primer and finish with a coloured coating applied with a smooth trowel.